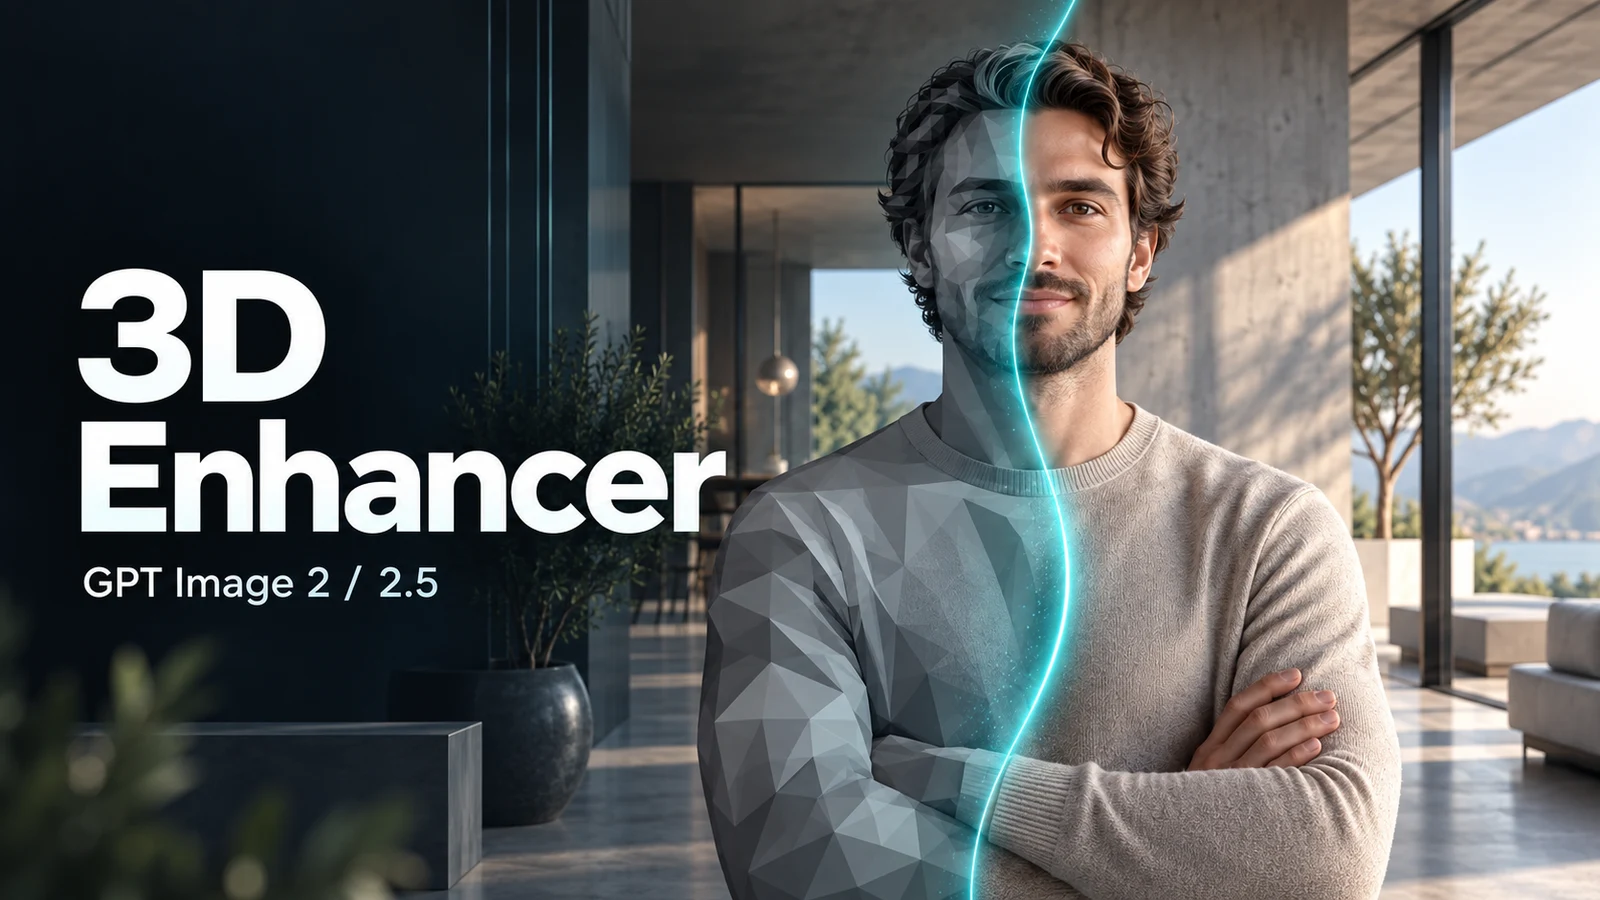
3D Enhancer — AI Render Enhancement
Turn 3D characters into photographic people with GPT Image 2 or 2.5. Open-source Python desktop app with batch processing and a before/after viewer.
3D Enhancer gives the people in your architectural renders a more photographic appearance. Built with Python and PyQt5, this open-source desktop tool sends a complete render to GPT Image 2 or GPT Image 2.5 (Sunburst) with instructions to replace the 3D characters while preserving the scene and composition.
Drop in a render or a folder, choose the model, and review the result beside the original. The source code, setup instructions and build scripts are available on GitHub.
From rendered characters to photographic people
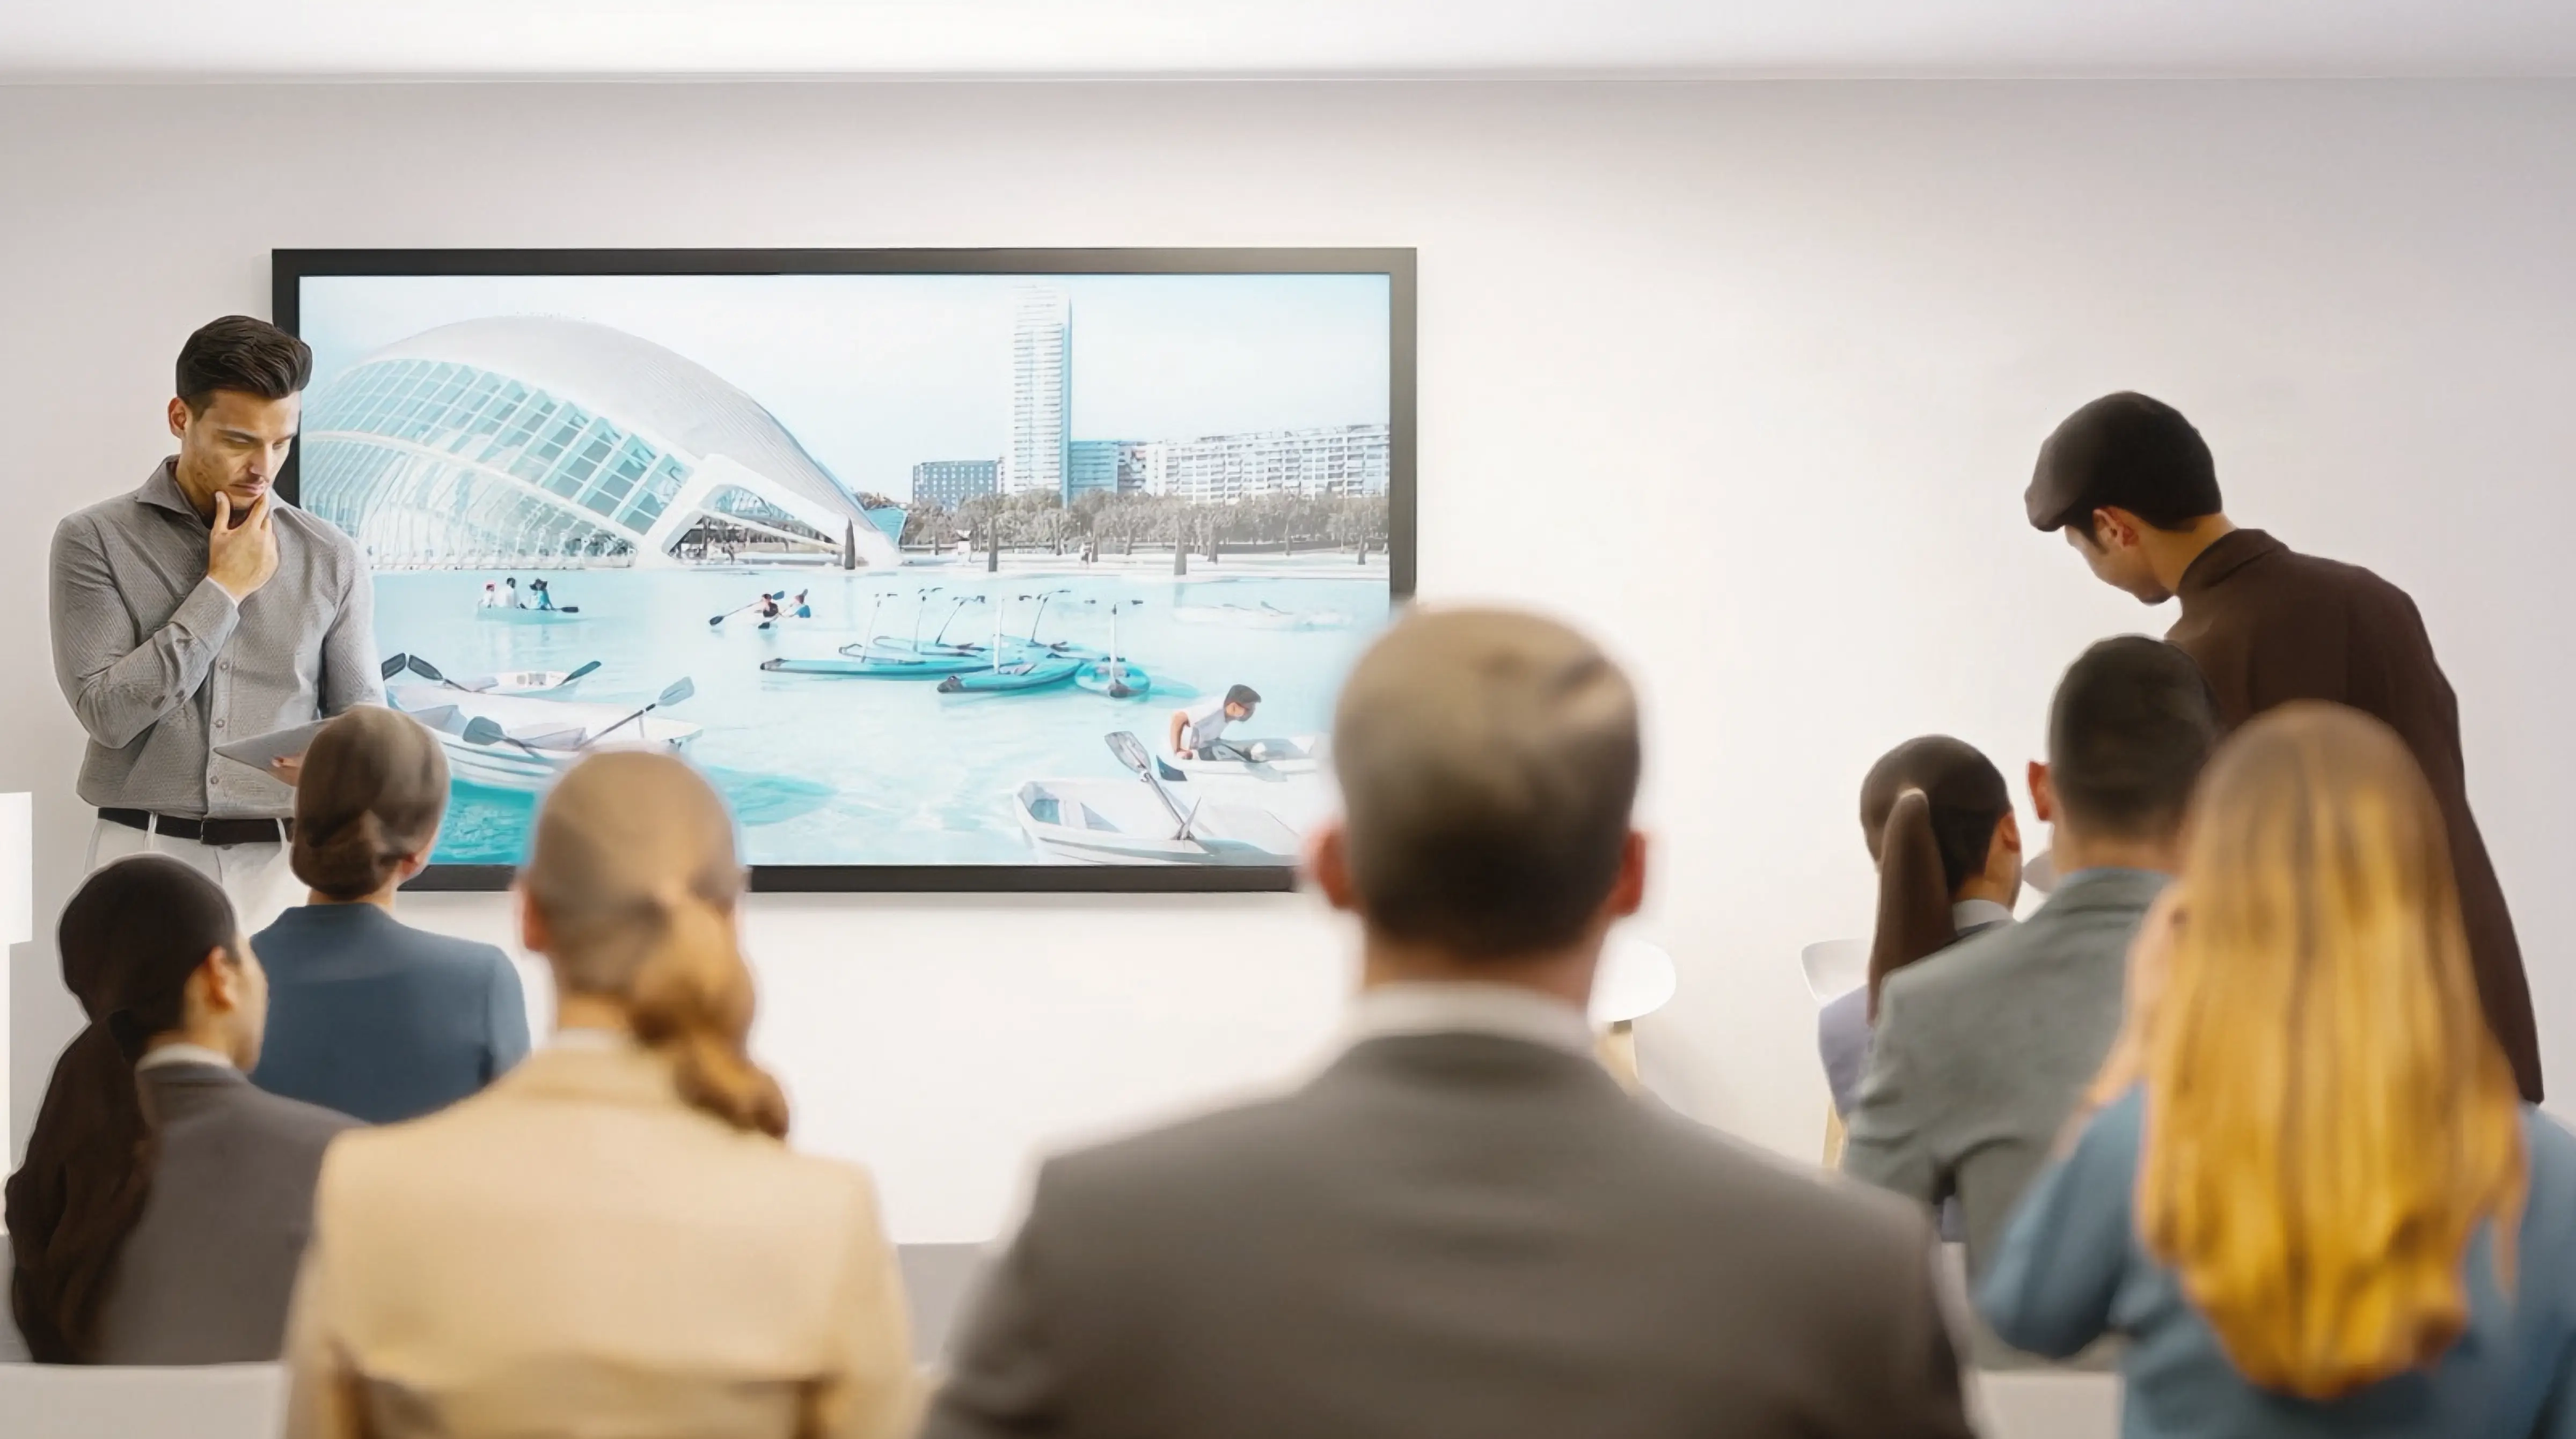
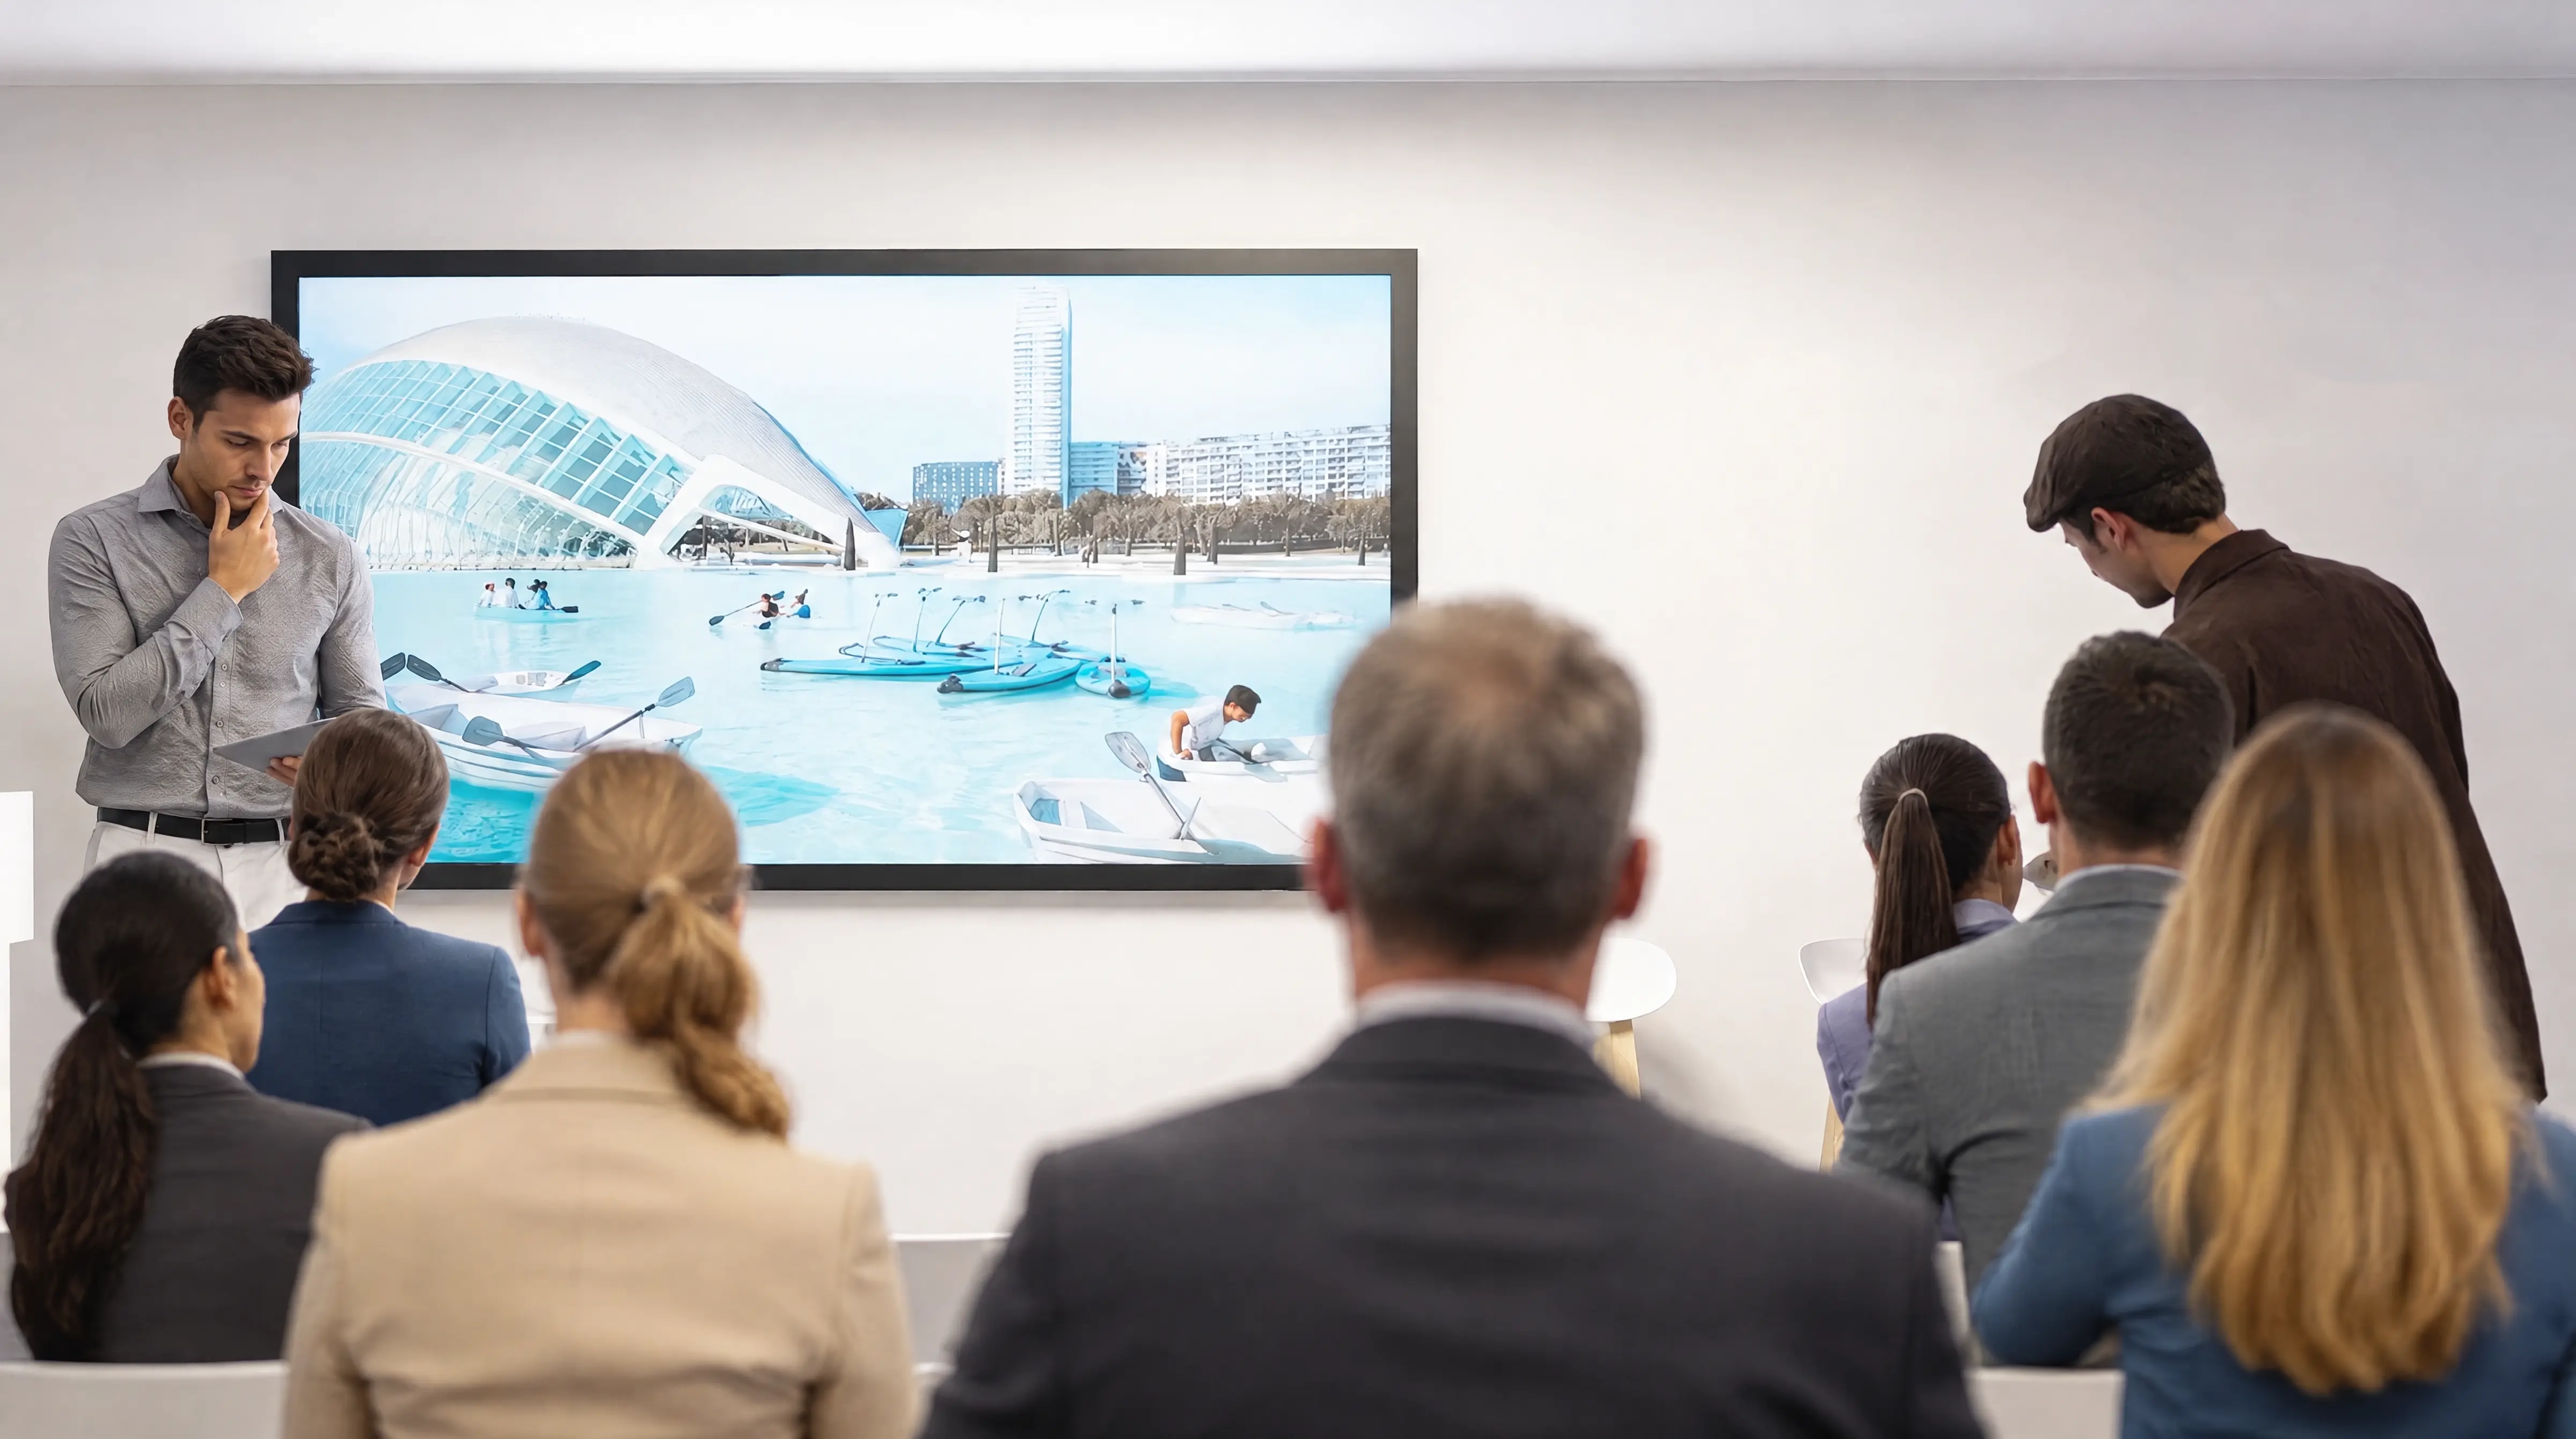
People can stand out as the artificial part of an otherwise convincing architectural image. 3D Enhancer focuses on that final pass: improving their appearance while asking the model to keep their number, position, scale, pose and clothing, along with the architecture, signs, lighting and camera.
The images below are the actual before and after published in the repository, with the result generated using GPT Image 2.5. Open either image to inspect it at full resolution.
Watch the application demo (MP4)
The cover artwork is a conceptual illustration. The comparison above shows the real example. Because the model edits the complete image, scene preservation depends on how it follows the prompt; it is not a pixel lock. Review the output before using it as a final deliverable.
A workflow for batches of renders
- Add images your way. Select multiple files, load a folder or drag renders into the window.
- Choose the model. GPT Image 2 is the default; GPT Image 2.5 uses the Sunburst variant. Both run at high quality, and the app remembers your selection.
- Process up to five images at once. Set concurrency from one to five, with individual status, progress and a processing log.
- Keep previous results. Skip existing outputs or reprocess them with numbered filenames. Earlier versions are preserved.
- Choose where results go. Save everything to an output folder or place each result beside its source image.
- Work in English or Spanish. The interface detects the system language and includes an instant language switcher.
Inspect the difference
Click a preview to open the built-in comparison viewer. Switch between Original, Compare and Result, or drag the before/after divider to reveal changes in the same part of the image.
Synchronized zoom and panning keep both images aligned, with magnification up to 800%, full-screen mode and keyboard controls. You can inspect a result while the rest of the batch continues processing.
To compare the two models, process a render, switch models and run it again using Reprocess and rename. Both outputs remain available.
Run it locally
The repository recommends Python 3.11 or 3.12. Clone the project and install its dependencies in a virtual environment. On Windows:
git clone https://github.com/crazyramirez/3DEnhancer.git
cd 3DEnhancer
python -m venv .venv
.venv/Scripts/python -m pip install --upgrade pip
.venv/Scripts/python -m pip install -r requirements.txt
.venv/Scripts/python main.py
Enter your OpenAI API key in the app, add your renders, choose an output location and image model, then press Process images. Each image makes a separate API call, so processing requires model access and incurs API usage charges.
The interface runs locally; image editing takes place through the OpenAI API. The key is stored encrypted for the current user through Windows DPAPI or the macOS Keychain. The repository also includes PyInstaller build scripts for Windows and macOS, which must be run on their respective operating systems.
Explore the source
The project separates image handling, API editing, batch processing and the desktop interface. The editable prompt lets you adapt the instructions to your renders, while the comparison viewer helps you assess what changed.
Browse the code and English setup guide · Leer la documentación en español